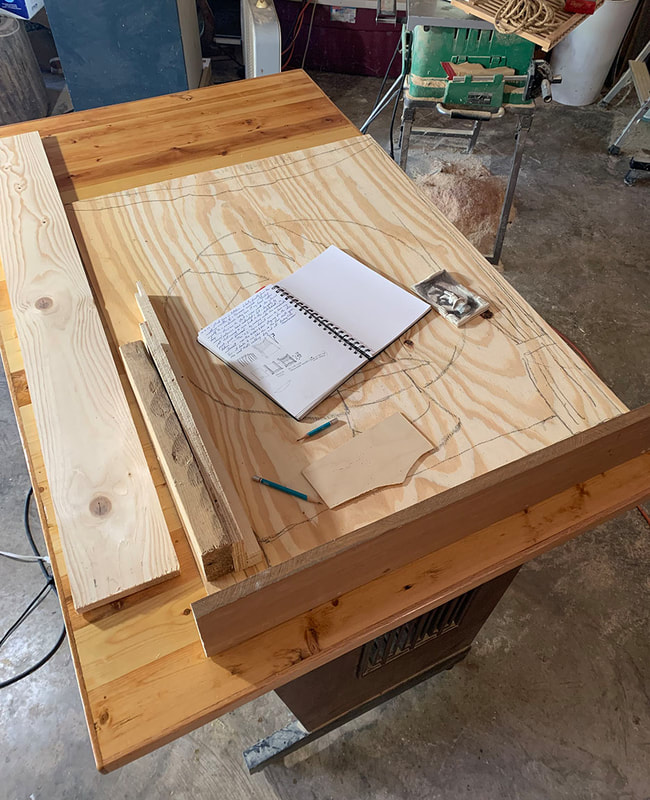
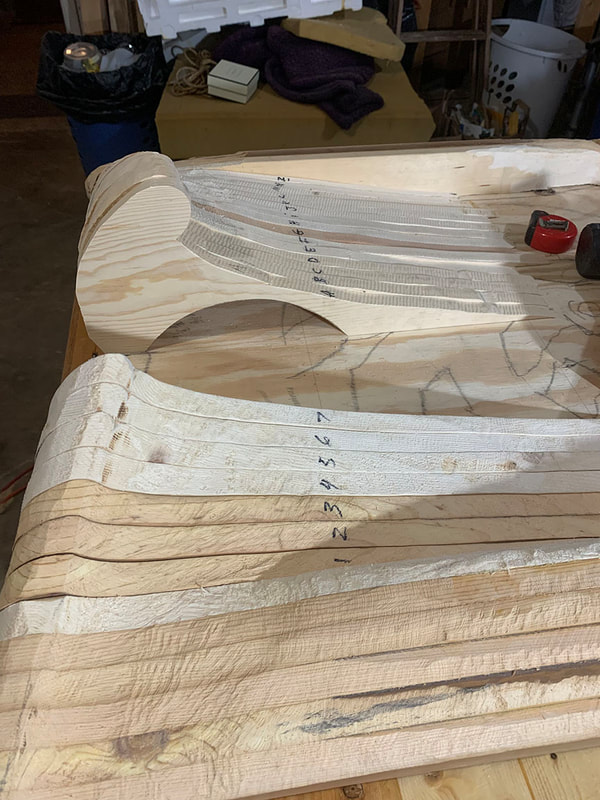
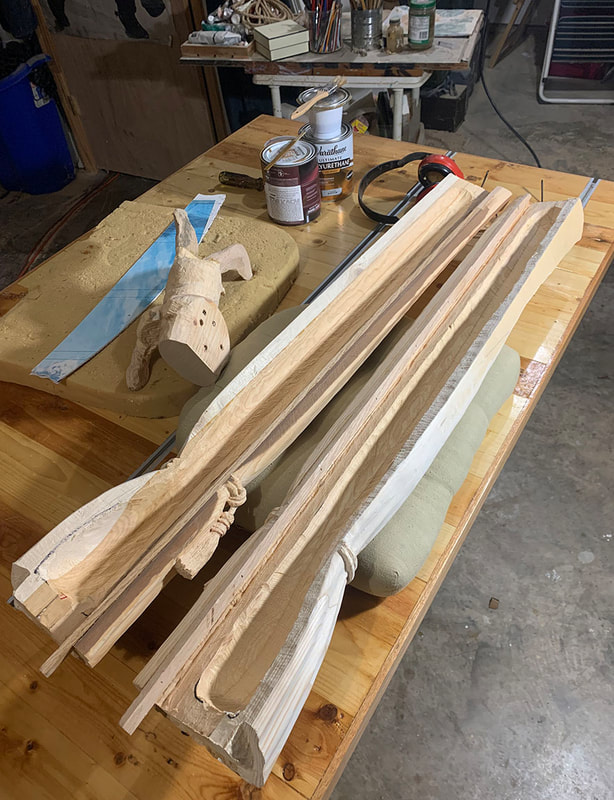
I wish I had the time to label each of these to describe the unfoldment. Alas, no :)
A couple short notes:
- images #1 and 2 share my sketchbook searching, leading to a small maquette that was necessary to visualize 3-D planar factors.
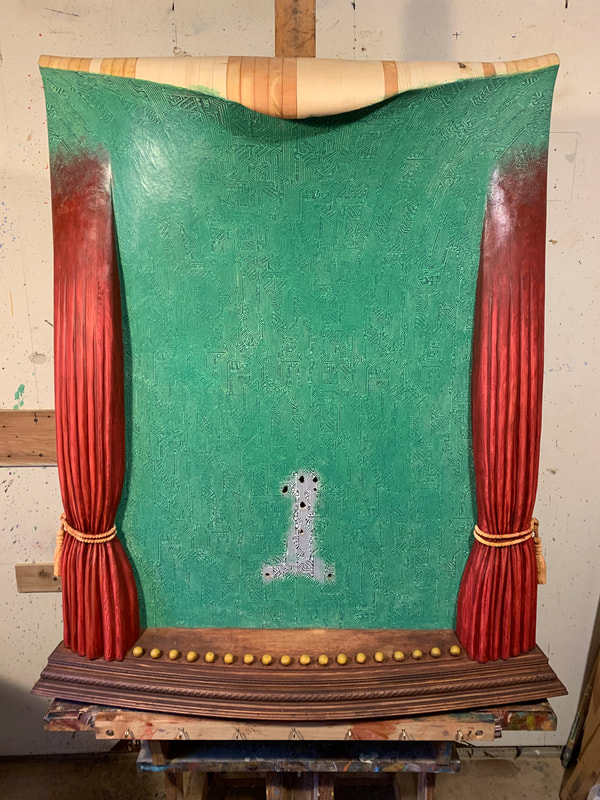
- The next couple of rows show the slow structural development. The "wave" form created a particularly complex assembly, a sandwiching together of multiple 1" stock. I excavated much of the 'back side' of each piece (images #6 & 7) to lessen physical weight. Likewise, the "curtain" pieces were hollowed out on the back. Creating solid wood pieces can (of course) amass quite a lot of weight for hanging on a wall (as all of my works are)... so, I effort all along the way to minimize physical weight when possible {as long as there is no aesthetic compromise).
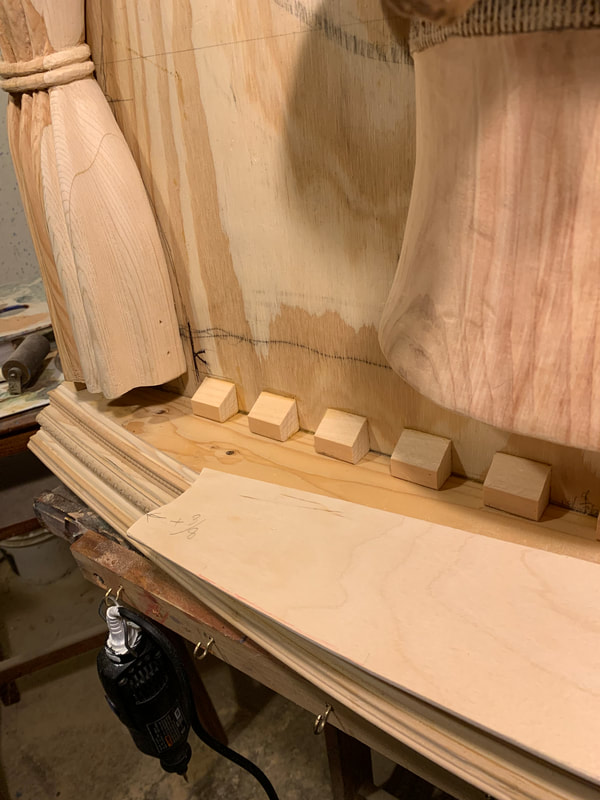
- image #8 reveals sloped block bracing... to pitch the "stage floor" upward slightly... to direct the viewers eyes 'up' into the narrative.
- Image #9 shows the "hat" starting its construction. - Image #11 is the cutting out/building of the hat's brim.
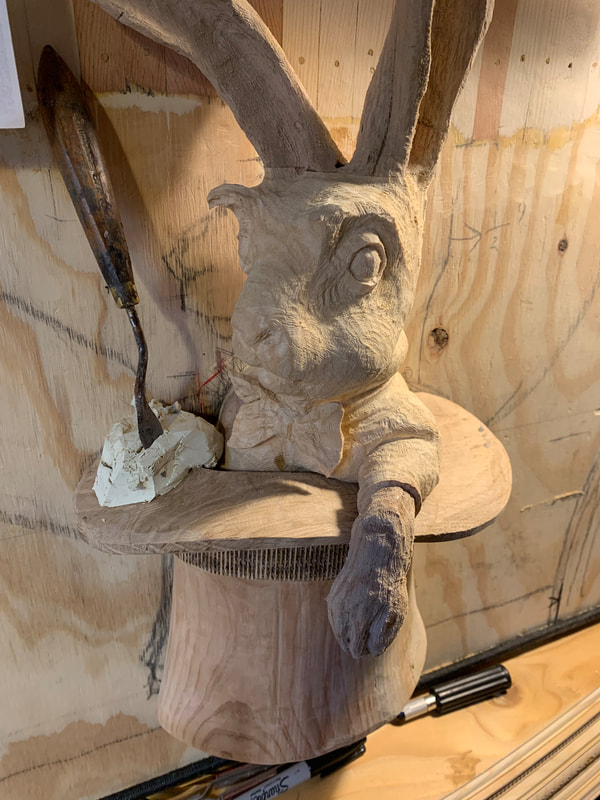
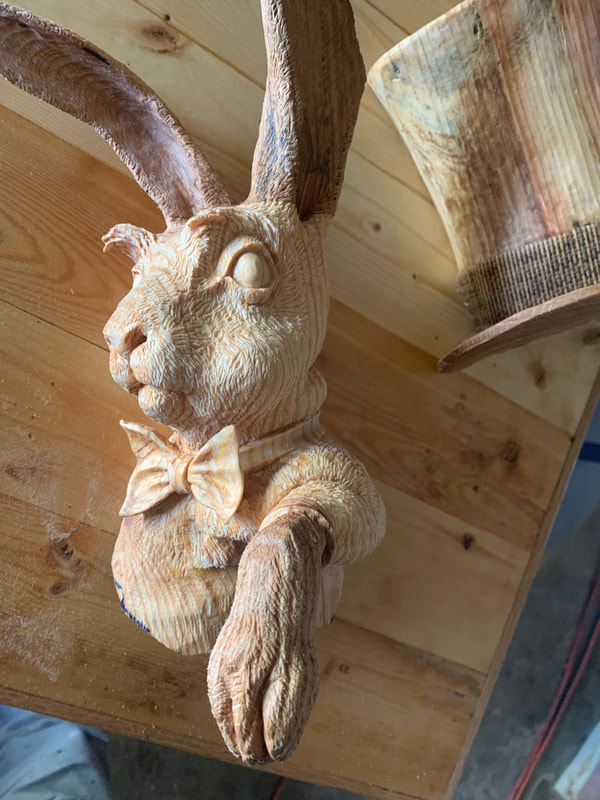
- images #12, 13 and 14 show the rabbits development
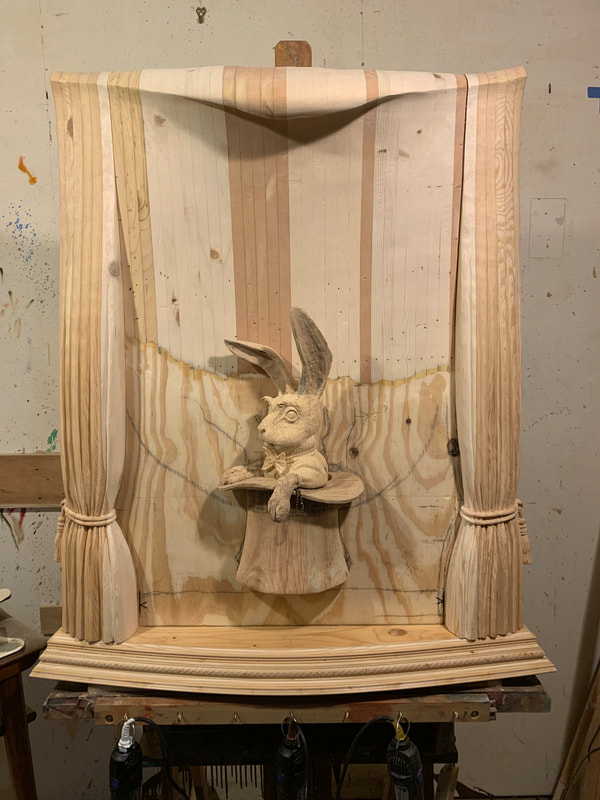
- image #15 has "all actors on the stage", but only temporary, as elements were tested and assessed prior to permanent assembly (the rabbit & hat bolt on).
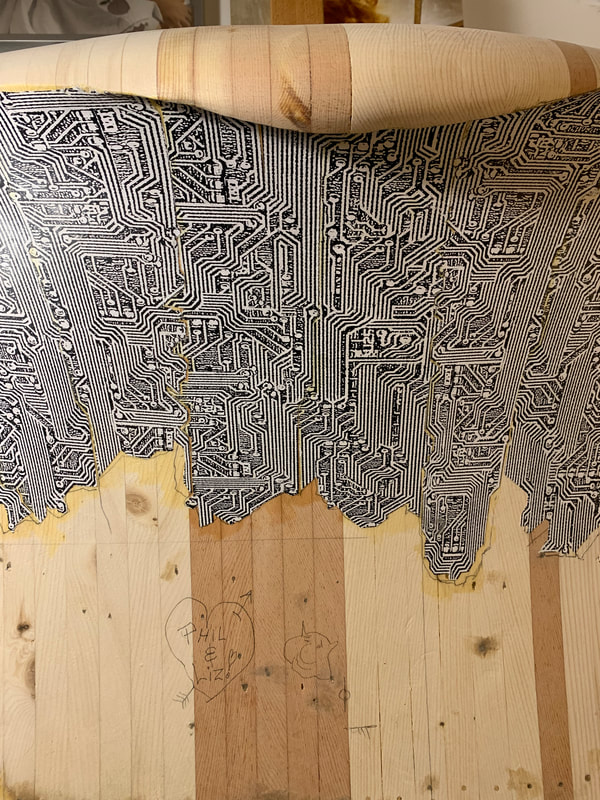
- image #16 shows the beginning of the circuitry collage elements (created in Photoshop - printed with thermal toner printouts for better archivalness).
- image #17 ... embarking with paint, foundation colors.


